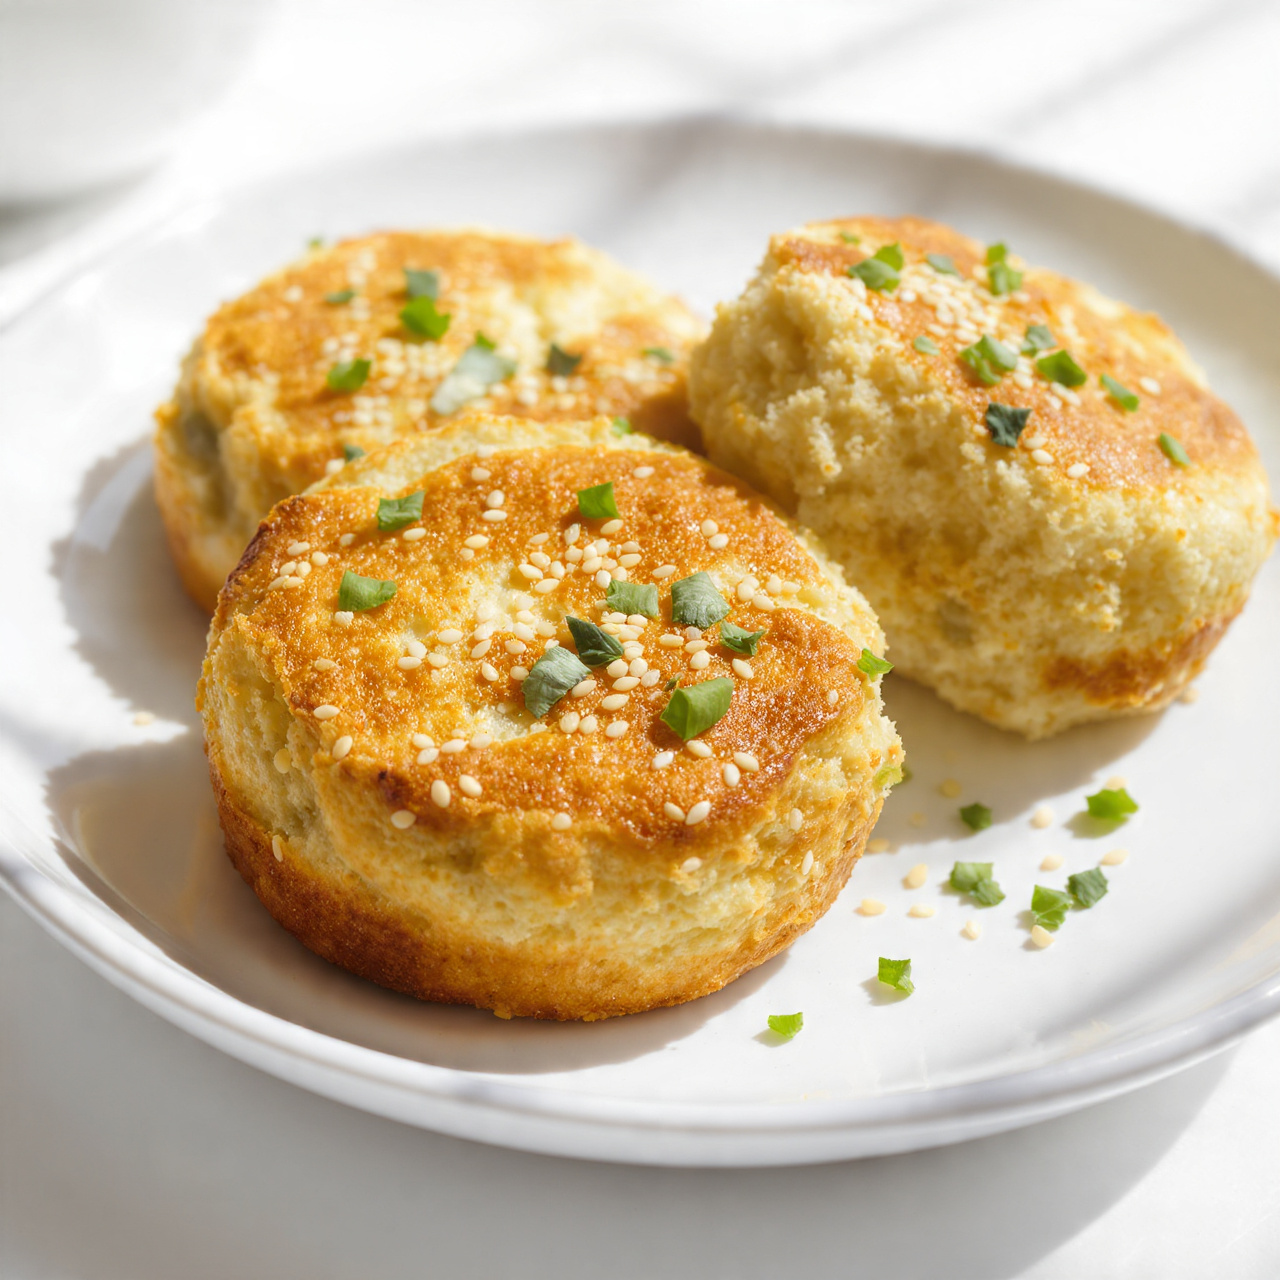
Gluten-Free English Muffins
Fluffy, nook-and-cranny gluten-free English muffins made on the stovetop, perfectly toastable and freezer-friendly for easy gluten-free mornings.

Finally, Gluten-Free English Muffins With Real Nooks and Crannies
If you have missed splitting open a warm English muffin and watching butter melt into every little crevice, this recipe is for you. These gluten free English muffins are cooked low and slow on the stovetop, just like the classic version, and they come out with a tender, slightly chewy crumb and all the craggy texture you want for holding onto jam, eggs, or a puddle of melted butter.
This is one of those gluten free recipes bread lovers request again and again, because it proves that going gluten free does not mean giving up your favorite breakfast staples. It also happens to be a fantastic entry point into homemade gluten free baking if you are newer to the pantry swaps involved.
Before we get cooking, the right tools and ingredients make a real difference here. A reliable gluten free flour blend and a bit of psyllium husk powder are what give these muffins their structure and chew, so it is worth having good versions of both on hand. A heavy skillet or griddle with even heat is also key for that golden, slightly crisp crust.
Why Psyllium Husk Is the Secret Ingredient
Traditional English muffins rely on gluten to trap air and create that stretchy, chewy bite. Without gluten, we need a little help, and that is where psyllium husk powder comes in. It absorbs liquid and forms a gel that mimics gluten's elasticity, giving the crumb structure instead of a crumbly, dense texture.
Chef's Tip: Do not skip the psyllium husk or substitute it 1:1 with flax unless you have to. It is doing the heavy lifting that keeps these muffins from falling apart when you split them.
This same trick shows up in a lot of successful gluten free sourdough and gluten free bread recipes, so once you get comfortable with it here, you will find it useful elsewhere in your gluten free baking too.
A Sticky Dough Is a Good Sign
One thing that surprises first timers: this dough is much wetter and stickier than a traditional yeasted dough. It is closer to a thick batter than something you would knead by hand, and that is exactly what it should look like. Gluten free flours simply need more hydration to bake up soft instead of dry and crumbly.
A few things that help along the way:
- Warm liquids matter. Around 110 degrees F activates the yeast without killing it.
- Let it rise somewhere cozy. A turned off oven with the light on works well.
- Do not rush the stovetop cook. Low and slow gives the inside time to cook through before the outside over browns.
This method also works beautifully if you are building out a rotation of gluten free dairy free recipes, since the milk, butter, and even the eggs can be swapped for plant based versions without changing the technique.
Cooking Them Low and Slow
Unlike a lot of quick breads, these muffins are not baked in the oven, they are cooked gently on the stovetop, which is actually part of what gives them that classic English muffin crust. Keeping the heat on the low side is essential, since gluten free doughs can brown quickly on the outside while staying gummy in the middle if the pan is too hot.
Ready to make it? Here is the full step-by-step recipe:
Gluten-Free English Muffins
Fluffy, nook-and-cranny gluten-free English muffins made on the stovetop, perfectly toastable and freezer-friendly for easy gluten-free mornings.
Ingredients
- 2 1/2 cups gluten-free all-purpose flour blend, one with xanthan gum already included works best
- 1 tbsp granulated sugar
- 2 1/4 tsp instant yeast, one standard packet
- 1 tsp fine sea salt
- 1 tbsp psyllium husk powder, helps mimic gluten's stretch and chew
- 1 cup milk, dairy or unsweetened dairy free, warmed to about 110 degrees F
- 1/4 cup water, warm
- 2 large eggs, room temperature
- 2 tbsp unsalted butter, melted, or dairy-free butter substitute
- 1 tsp apple cider vinegar
- 3 tbsp cornmeal, for dusting
Instruction
In a large bowl, whisk together the gluten-free flour blend, sugar, instant yeast, sea salt, and psyllium husk powder until evenly combined.
In a separate bowl or measuring cup, whisk together the warm milk, warm water, eggs, melted butter, and apple cider vinegar.
Pour the wet ingredients into the dry ingredients and beat with a hand mixer or sturdy spoon for about 1 minute, until you have a thick, sticky, batter-like dough. It will not look like traditional bread dough, and that is correct.
Cover the bowl with plastic wrap or a damp towel and let it rise in a warm spot for 45 to 60 minutes, until noticeably puffed.
Line a baking sheet with parchment and sprinkle generously with cornmeal. Scoop the dough into 8 even mounds using a greased 1/3 cup measure, spacing them apart, and sprinkle the tops with more cornmeal. Let rest, uncovered, for 15 minutes.
Heat a large skillet or griddle over low to medium-low heat and lightly grease it. Using a greased spatula, transfer 3 to 4 muffins at a time to the skillet, gently flattening the tops slightly.
Cook for 6 to 8 minutes per side, adjusting heat as needed, until deeply golden brown on both sides and a thermometer inserted in the center reads about 200 degrees F.
Transfer the cooked muffins to a wire rack to cool completely before slicing. This resting time helps the crumb finish setting.
Split with a fork to create those signature nooks and crannies, then toast and serve warm with butter or your favorite toppings.
Equipment
- Large mixing bowl
- Hand mixer or sturdy spoon
- 1/3 cup measuring cup
- Baking sheet
- Parchment paper
- Large skillet or griddle
- Wire cooling rack
- Instant-read thermometer
Notes
Serving, Storing, and Making Them Your Own
Once cooled, always split your muffins with a fork rather than slicing with a knife. Forking gently pulls the layers apart along their natural structure, which is exactly what creates those coveted nooks and crannies for butter and jam to soak into.
These muffins freeze exceptionally well, which makes them one of the more practical additions to your gluten free eating routine. Slice them before freezing so you can pull out and toast just what you need. If you are looking to switch things up, try folding in a handful of raisins and a swirl of cinnamon, or a mix of shredded cheese and herbs for a savory version.
Whether you are new to navigating foods with gluten and their substitutes, or you are simply searching for solid gluten free recipes easy enough for a weekday breakfast, this recipe is meant to be a dependable staple in your kitchen rotation. Toast one up, split it open, and enjoy a little piece of a classic breakfast made fully gluten free.