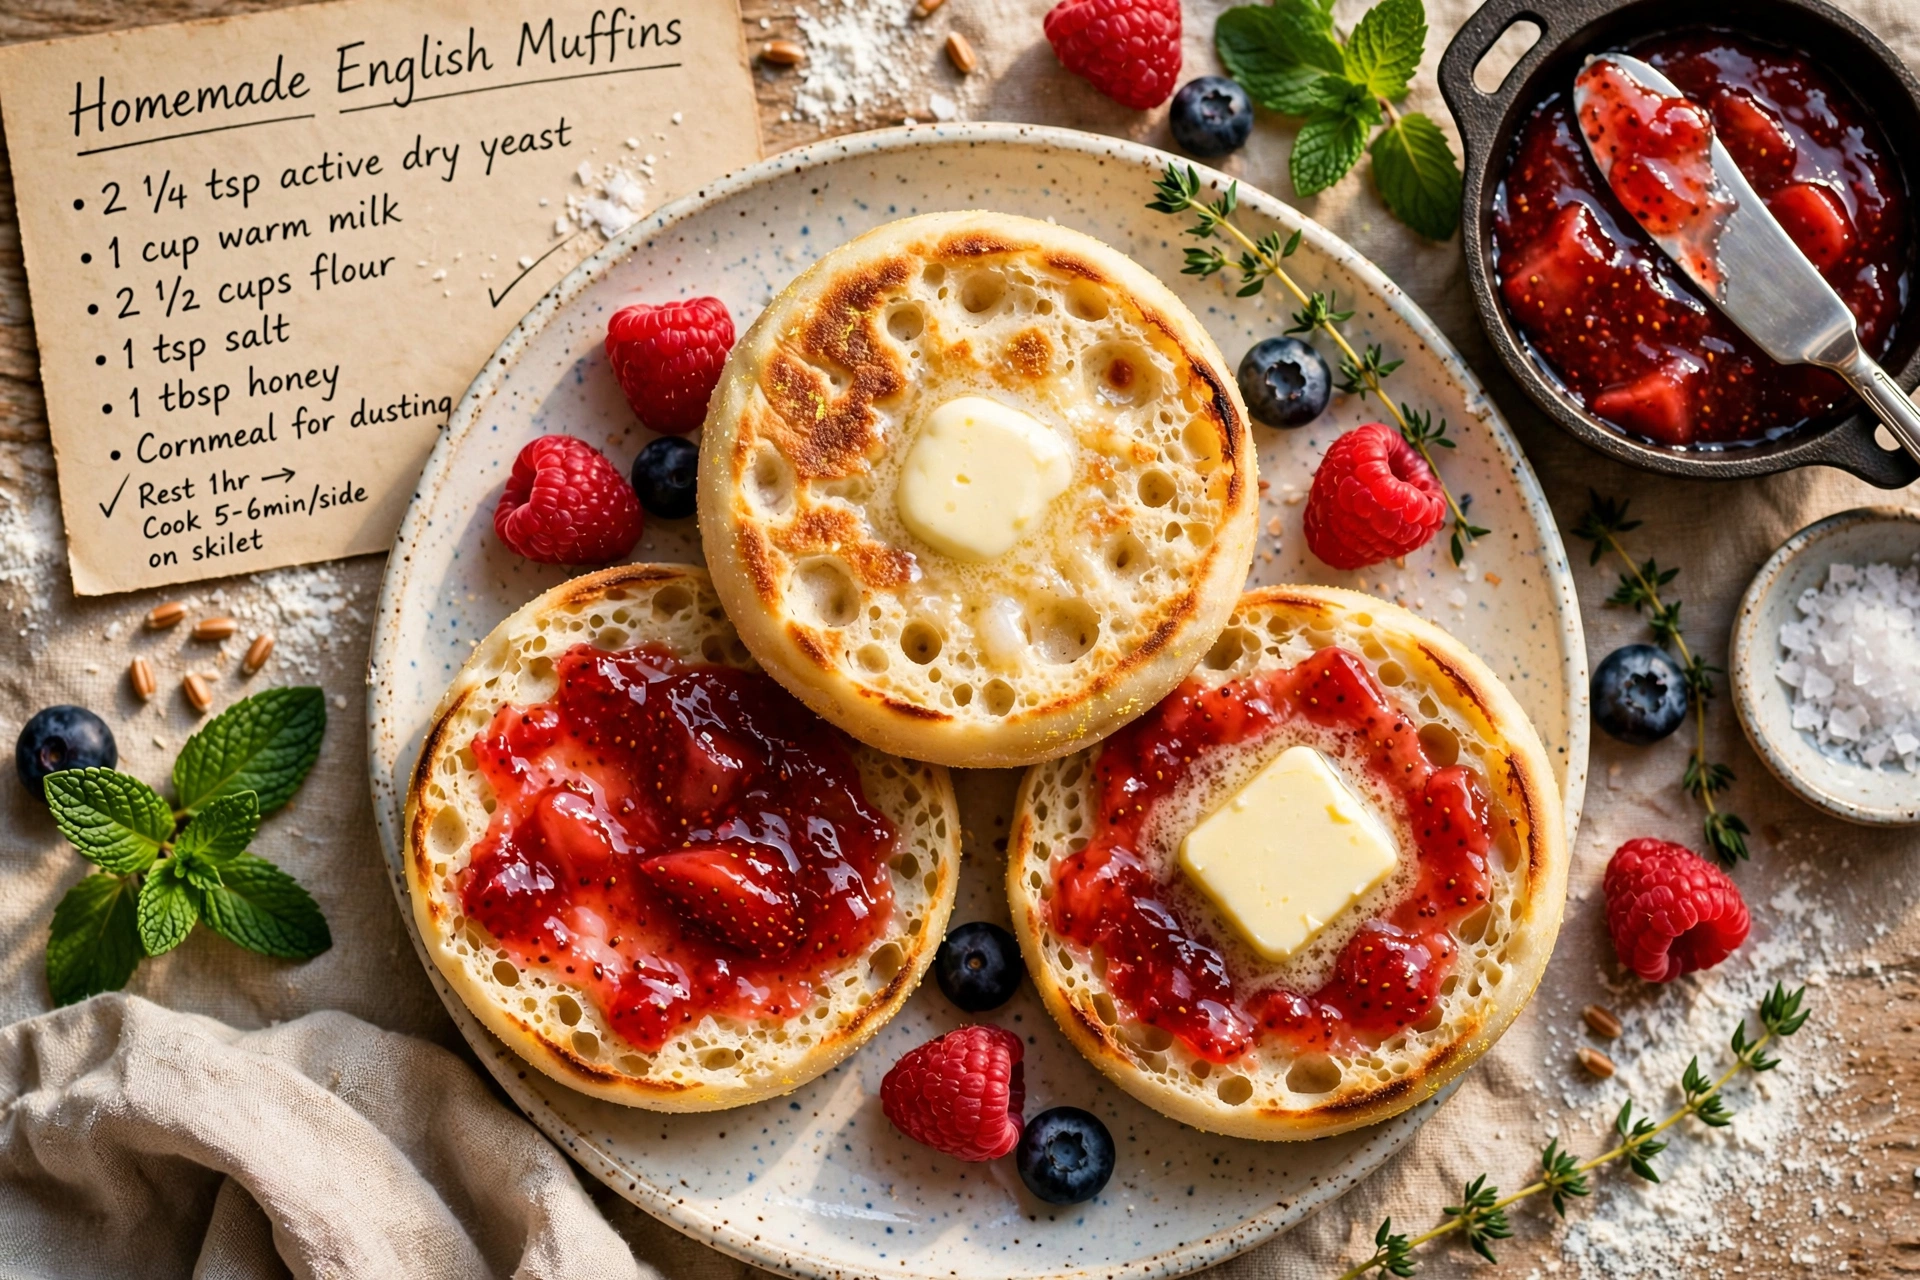
Homemade English Muffins
Craving fresh flour recipes made from scratch? These homemade English muffins are griddle cooked to golden perfection with the perfect nook and cranny texture for holding butter and jam.

The Joy of Foods From Scratch
There is something deeply satisfying about pulling a batch of homemade english muffins off the griddle and realizing you made them yourself, no plastic wrap, no preservatives, just fresh flour recipes done right. This is one of those from scratch breakfast projects that looks impressive but is actually forgiving and fun, even if you have never worked with yeast before. Once you taste the difference between a store bought muffin and one made in your own kitchen, you will understand why so many bakers consider this a gateway recipe into the world of foods from scratch.
These are sometimes affectionately called oh my gosh muffins by the people lucky enough to be handed one warm off the griddle. They are soft, slightly tangy from the buttermilk, and packed with those famous nooks and crannies that exist specifically to trap melted butter and jam.
Before we get cooking, the right tools and ingredients genuinely change the outcome here. A reliable griddle keeps the heat even so the muffins cook through without scorching, and a good biscuit cutter gives you clean, uniform rounds that cook consistently. These are the products that genuinely help this recipe shine:
Why Buttermilk Matters
This is one of those recipes that include buttermilk for good reason. The natural acidity in buttermilk reacts with the baking soda to give the crumb a light, tender texture while adding a subtle tang that plain milk simply cannot replicate. If you are searching for a recipe for homemade english muffins that actually tastes like the bakery version, buttermilk is the ingredient doing most of the heavy lifting.
Chef's Tip: Let your buttermilk and milk come closer to room temperature before mixing. Cold liquid can shock the yeast and slow down that all important first rise.
The Secret Is Low, Slow Heat
Unlike pancakes, these muffins are not cooked over high heat. They cook low and slow on a dry griddle, which allows the inside to fully set before the outside over browns. Rushing this step with high heat is the most common mistake home bakers make, and it usually results in a muffin that looks done but is doughy in the center.
If you have ever wondered whether this works as an english muffin recipe for bread machine use, the answer is yes. Many bread machines have a dedicated dough cycle that handles the mixing and first rise beautifully, saving you the hands on kneading step while still giving you that classic texture once you shape and griddle the muffins yourself.
Shaping and Resting
Patience during the second rise is what gives these muffins their signature airy structure. Do not skip the 30 to 45 minute rest after cutting the rounds. This is when the yeast does its final work, puffing the dough just enough to create those dramatic nooks and crannies once it hits the hot griddle.
Ready to make it? Here is the full step-by-step recipe:
Homemade English Muffins
Craving fresh flour recipes made from scratch? These homemade English muffins are griddle cooked to golden perfection with the perfect nook and cranny texture for holding butter and jam.
Ingredients
- 3 1/2 cups all-purpose flour, plus more for dusting
- 1 cup buttermilk, warmed slightly, room temperature
- 1/2 cup whole milk, warmed to about 110 degrees F
- 2 1/4 tsp active dry yeast, one standard packet
- 1 tbsp granulated sugar
- 2 tbsp unsalted butter, melted and slightly cooled
- 1 1/4 tsp salt, fine sea salt
- 1/4 tsp baking soda
- 3 tbsp cornmeal, for dusting the griddle and muffins
Instruction
In a small bowl, combine the warm milk, yeast, and sugar. Let sit for 5 to 10 minutes until foamy.
In a large mixing bowl or the bowl of a stand mixer, whisk together the flour, salt, and baking soda.
Add the buttermilk, melted butter, and the yeast mixture to the dry ingredients. Mix with a dough hook or wooden spoon until a shaggy dough forms.
Knead the dough for about 6 to 8 minutes, either by hand on a floured surface or with a stand mixer, until it is smooth, soft, and slightly tacky but not sticky.
Place the dough in a lightly greased bowl, cover with a towel or plastic wrap, and let rise in a warm spot for 1 to 1.5 hours, or until doubled in size.
Turn the dough out onto a lightly floured surface and gently pat it down to about 3/4 inch thickness. Cut into rounds using a 3 inch biscuit cutter or a clean can.
Place the rounds on a baking sheet dusted generously with cornmeal, then sprinkle the tops with more cornmeal. Cover loosely and let rest for 30 to 45 minutes until slightly puffy.
Heat a large griddle or heavy skillet over low to medium low heat. Do not use oil or butter, the muffins should cook dry.
Cook the muffins for 7 to 9 minutes per side, adjusting heat as needed, until deeply golden brown and cooked through in the center.
Let the muffins cool slightly on a wire rack before splitting with a fork to preserve the nooks and crannies.
Equipment
- Stand mixer or large mixing bowl
- 3 inch biscuit cutter
- Griddle or heavy skillet
- Baking sheet
- Wire cooling rack
Notes
Serving and Storing Your Muffins
Once your muffins have cooled, split them with a fork rather than slicing with a knife. Forking gently pulls the layers apart along their natural weak points, preserving all those little pockets that a blade would flatten out. Toast the halves until golden and top with butter, honey, or your favorite jam.
Leftover muffins freeze beautifully. Wrap extras individually or store in a sealed bag, then toast straight from frozen whenever a craving hits. It is one of the easiest ways to keep a batch of from scratch breakfast options on hand without any last minute effort.
Whether this is your first attempt at homemade bread products or you are a seasoned baker looking to perfect your technique, this recipe delivers reliably delicious results every single time.